The week after we got the car home, we began classifying and removing all of the components in the engine. This was, of course, much easier said than done. It took us until Tuesday of this week, about five weeks later to finally get it out.
I won't go through the entire process right now, but if you have any question feel free to contact us on our contact page. The simplified version of the process went something like this:
Step 1: Start to remove something.
Step 2: Find another thing that is in the way of the first thing you were trying to remove.
Step 3: Go back to Step 1, repeating the process with the new thing thats in the way.
This infinite loop kept throwing a wrench in the process of removing the engine. Multiple times we thought we had gotten everything out and then realized there was one more piece remaining which started us at Step 1, of the above process again. But we had a lot of fun tinkering with the engine, and we now know a lot about it as well as the parts of the car that it was connected to. All valuable experience.
Originally, based on reading we had done on the internet, we thought that it would be easier to remove the transmission with the engine. This would require us to drain the fluid from the transmission and disconnect the shifter and the drive train. But we had been told that it was almost impossible to get out the bolts connecting the transmission to the engine.
However, after some exploring we found that this was not the case. Most of the bolts were relatively easy to reach. And with the new found glory of a wondrous tool called a breaker bar, we were able to remove the bolts with relative ease.
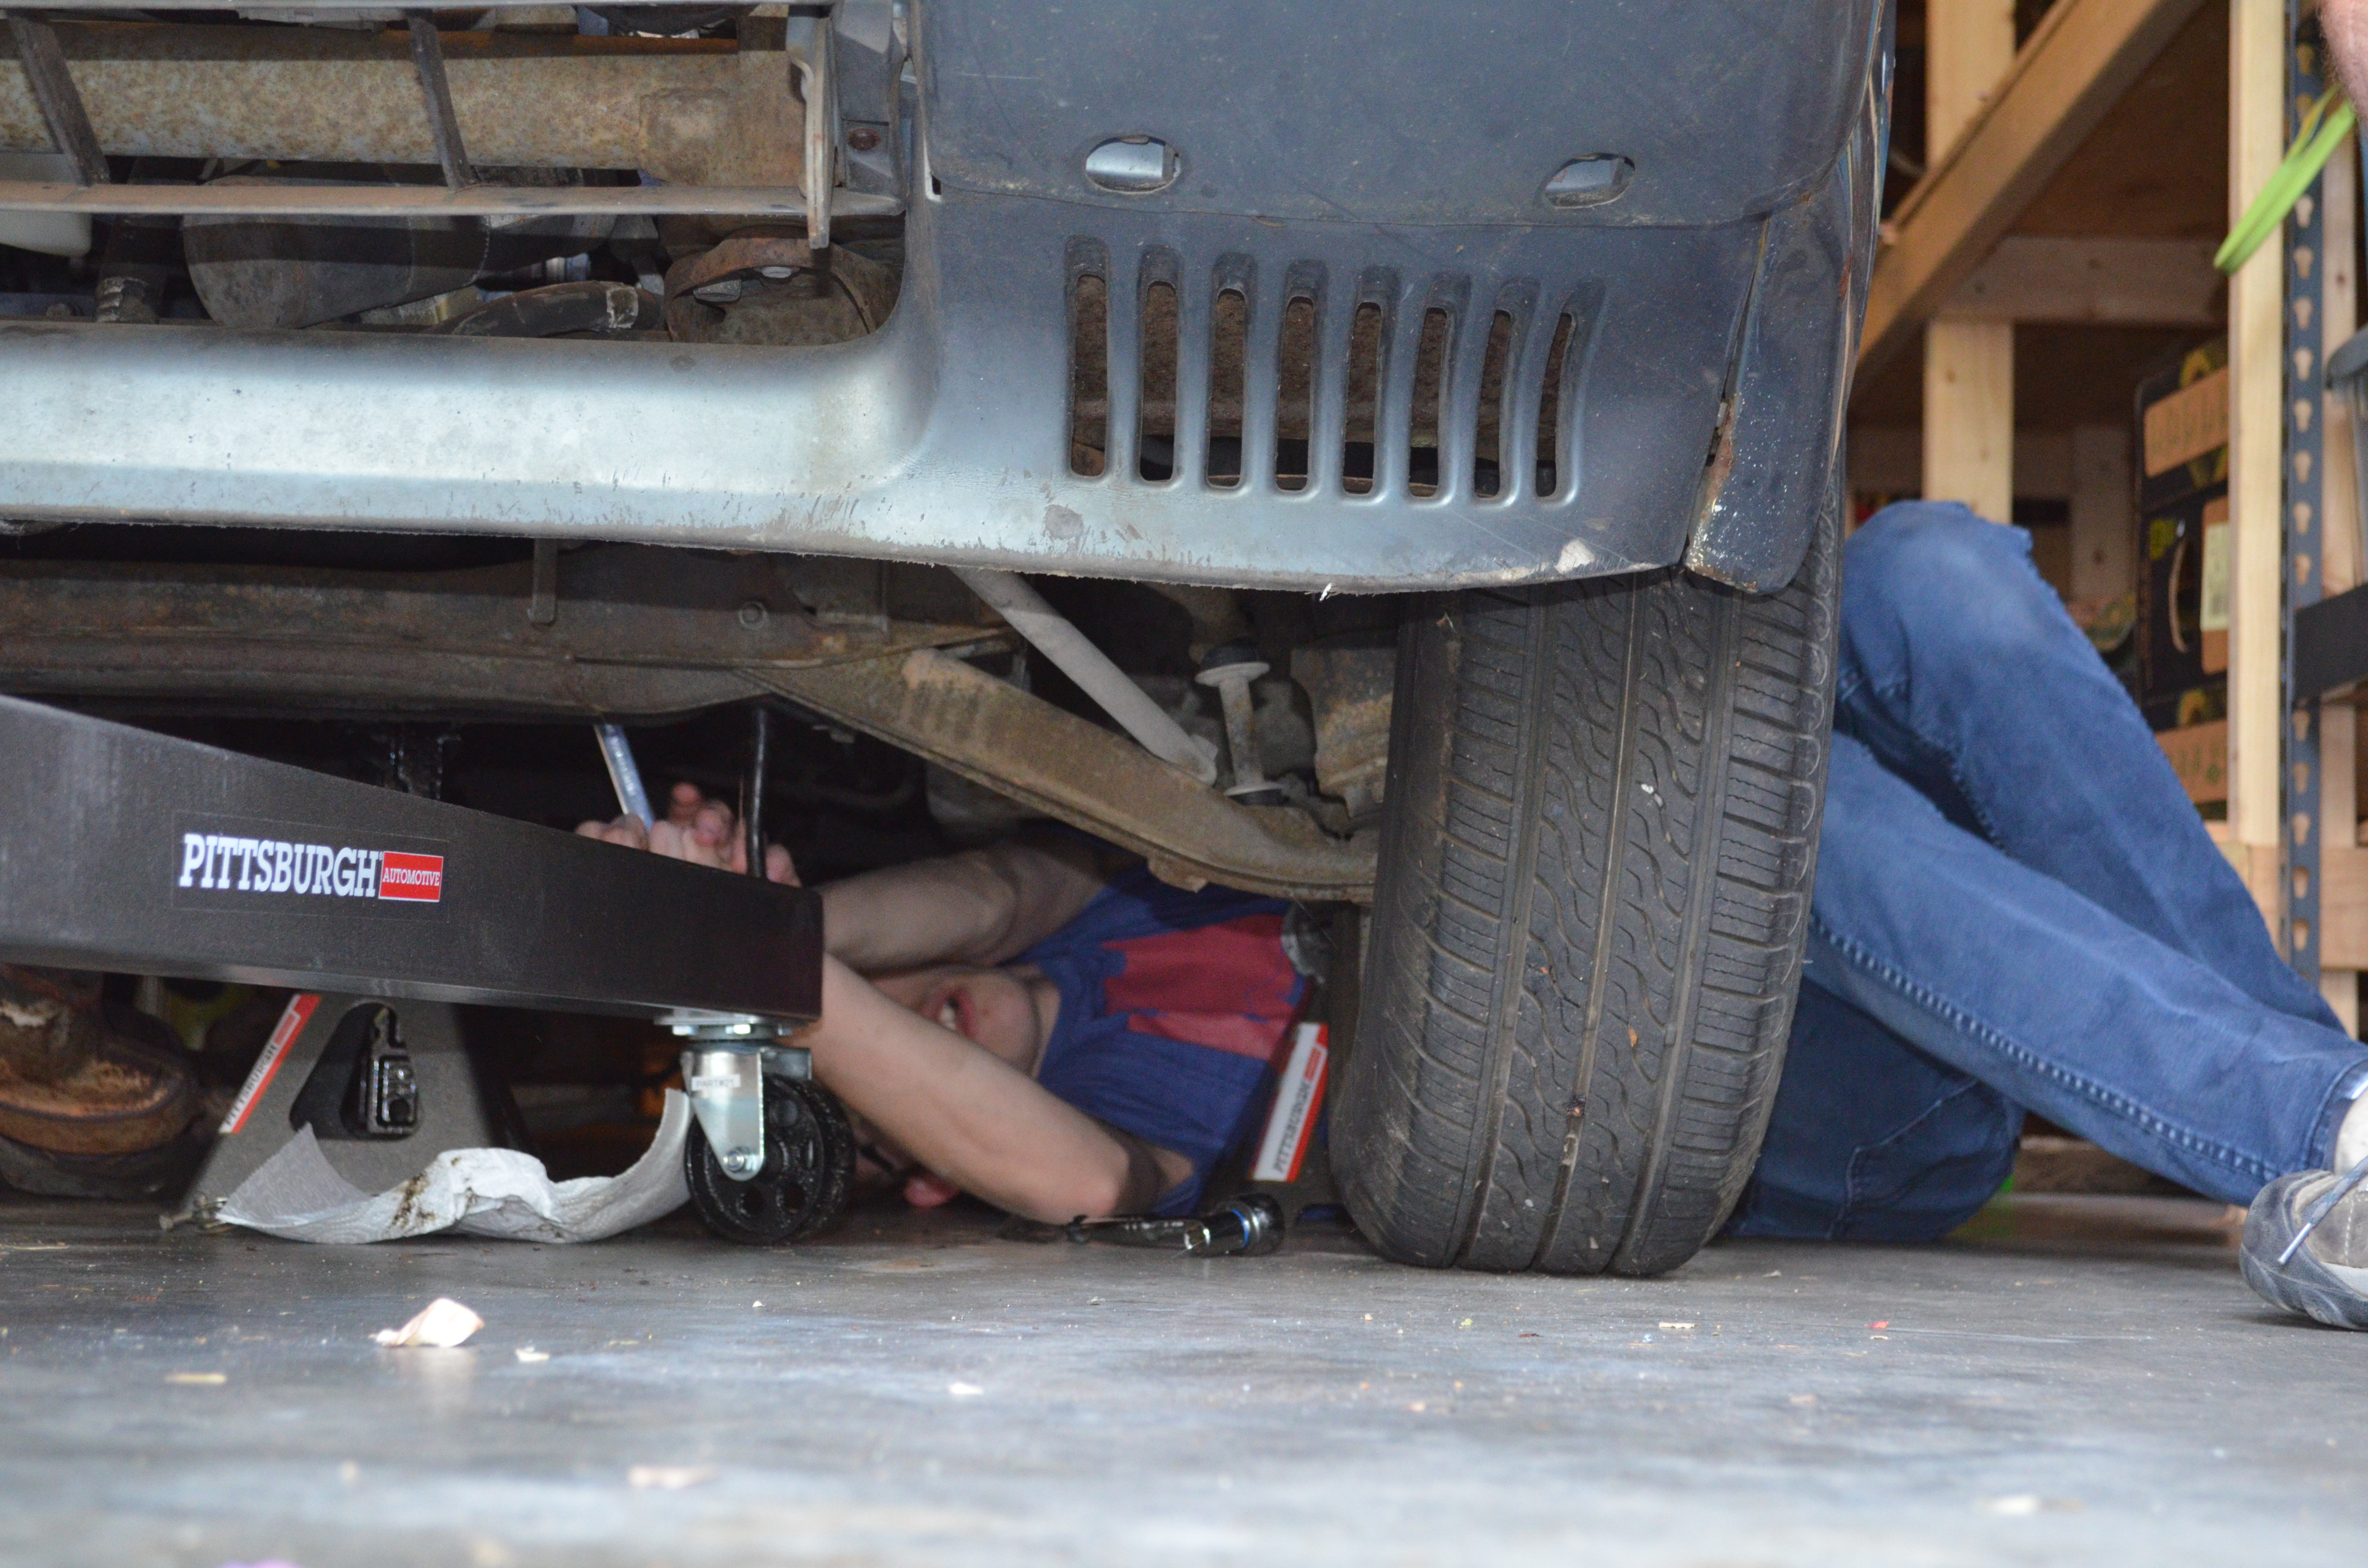 Using the wondrous breaker bar to loosen a transmission bolt! Keen observers might note the forgone ratchet lying in front of me.
After many hours of hard work and problem solving we finally had the engine lift attached, the transmission propped up, and the engine mounting bolts off. So slowly, we began lifting. A shortened (and timelapsed) video of the removal process can be found below. The full version might show up in its own post down the road depending on whether I have time to edit it.
Removing the engine… (We wish it went this quickly!)
All things considered, it went pretty smoothly. It took us about four times longer than we had originally planned but it wouldn't be an engineering project if we were on schedule.
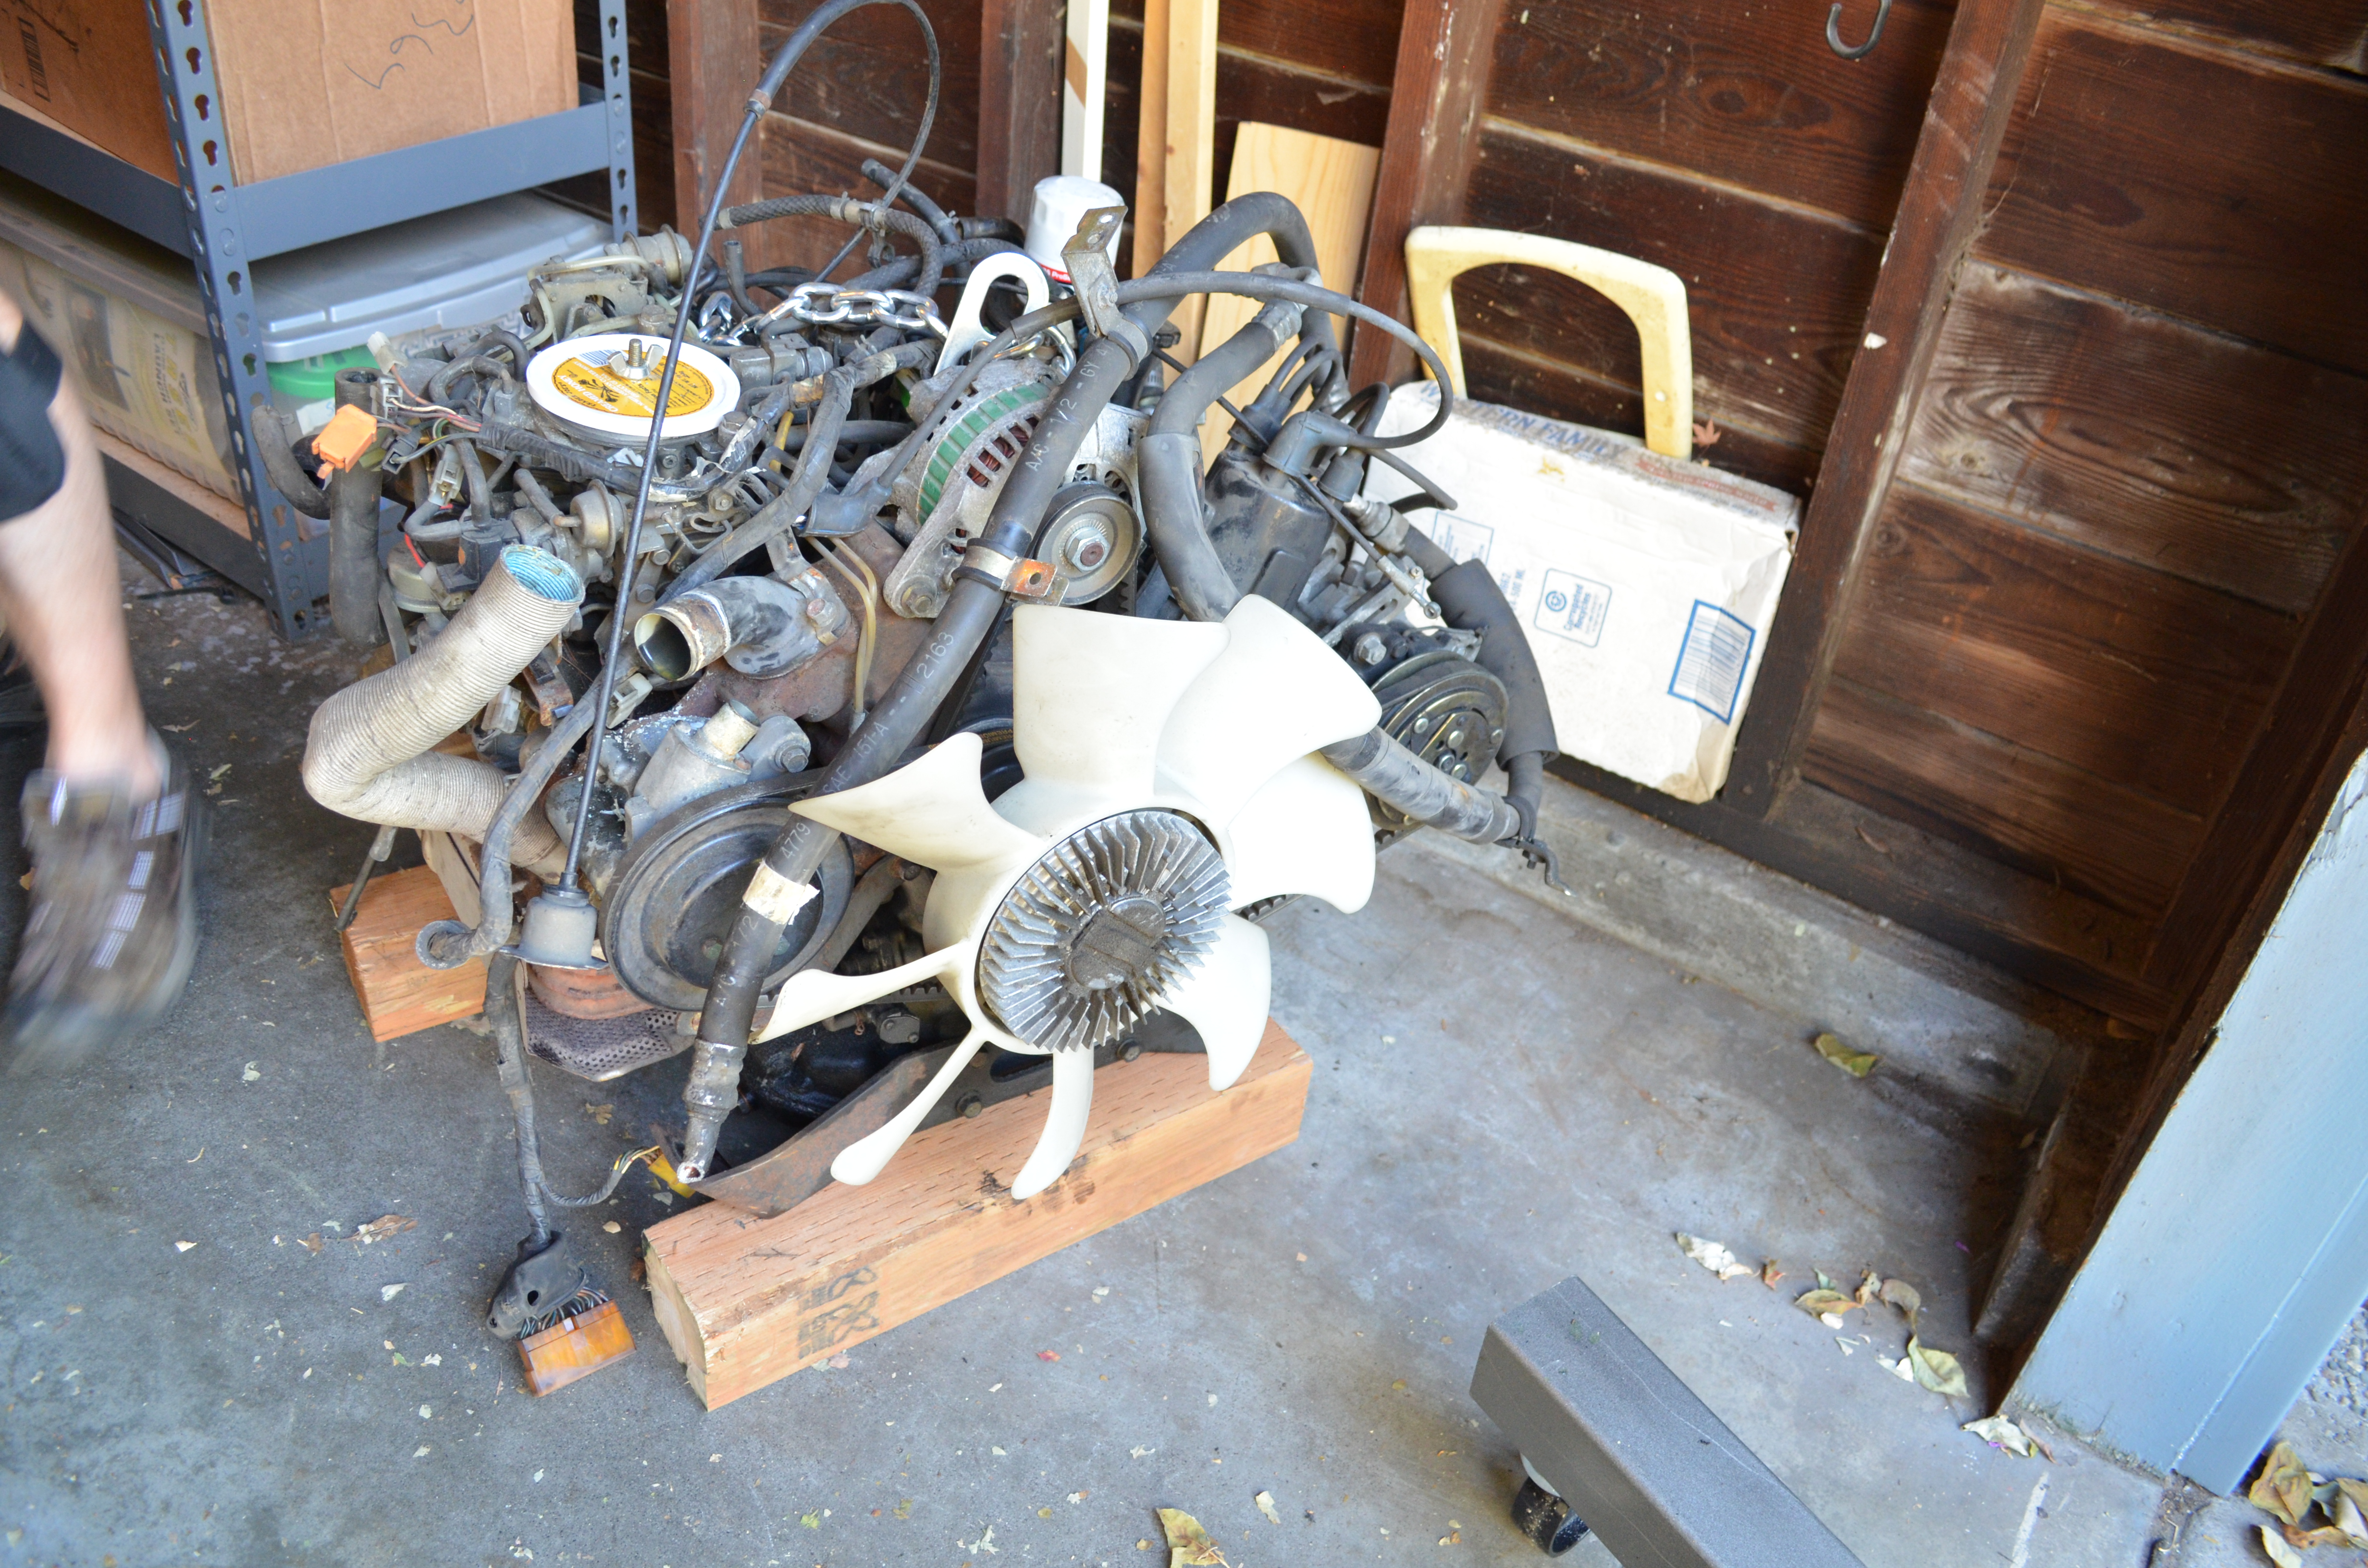 It’s out!
After admiring the inside of the transmission bell housing and looking around the engine, we decided to continue with the process. As it turned out this was yet another adventure (no surprises there, seems as if everything is more difficult than one would expect). In order to adapt the new electric motor (which is now on order and should arrive in a few weeks!) we will need the clutch plate, pressure plate, flywheel, and the throwout bearing. The clutch and pressure plates came out relatively easily, the flywheel however was a different story.
As it turns out, the Wankel 12a (which was the motor in the RX-7), have one massive bolt in place of what is normally four smaller bolts to hold the flywheel to the drive shaft of the engine. In case you were wondering, massive means 54mm. So we are leaving that as an adventure for next week!
As usual, more to come soon, thanks for reading!